How to Shoot in Manual | Things I Wish I Knew When I Picked up a Camera
Ready to *finally* understand how to use your camera?
Let me paint you a picture. You have an AWESOME camera. You take it out to shoot all the time. In amazing light, your photos are phenomenal… but as soon as you step inside, or the sun disappears just for a second… suddenly, you have no clue how to bring back that magic. You go to edit and find noise ALL. OVER. THE. PLACE – yuck!

Sound familiar? Well, you are NOT. ALONE. I more than anyone understand the frustrations of trying to shoot in Manual, not understanding the cheat sheets/guides out there, and ultimately switching back to Aperture Priority. In fact, I didn’t shoot in Manual until my SIXTH wedding (cue the shock and horror).
I was too afraid to experiment, and as a result, ended up with hesitation in difficult lighting. However, I’m here to save you from that hesitation in an easy-to-understand way.
Why I shoot in Manual
Manual gives you full control over your camera’s settings. When you sit on Auto or even Apterture/Shutter Priority, you forfeit important settings to let your camera guess exposure settings. While most cameras do a decent job at guessing, YOU are far better at understanding the lighting situation. It gives you more creative control, makes it easier to deal with tricky lighting settings, and allows for more consistency within your photos.
Let’s chat Settings!!!
Aperture
What even is Aperture? Well, it’s refers to the opening in your lens where the light passes through to the camera. How is Aperture measured? It’s calibrated in f/stops and is written as numbers such as 1.4, 2, 2.8, 4, 5.6, 8, 11 and 16.

More notably, aperture impacts the depth of field, or how many things are in focus. We’ve all been mesmerized by the iPhone portrait mode that blurs the background to make your subject pop. Traditionally (and on real cameras 🤪), this is accomplished through a lower f/stop.
LOWER F/STOP (1.4-2.8) = Brighter image, more background blur
HIGHER F/STOP (5.0-16.0) = Darker image, less background blur – this is ideal for MORE subjects for group photos.
Shutter speed
When we chat shutter speed, let’s think of metaphorical “doors” in front of our camera sensor. These “doors” open and close, letting light in, and resulting in the satisfying *click* when we shoot. The speed refers to how fast your camera is taking the photo
FASTER SHUTTER SPEED (1/1000+) = less light is let in, movement is captured better. The way I check if my shutter speed is sufficient is by looking at my subject’s hair movement. If I can see individual strands clearly – it’s good soup 😉
SLOWER SHUTTER SPEED (<1/100) = more light is let in, movement is not captured very well. This doesn’t have to be a bad thing! Some “artistically vibey” shots are taken with a slower shutter to drag the movement in photos.
ISO
Okay so what the heck does ISO stand for or mean? ISO stands for International Organization for Standardization (uh what?). To put it simply, ISO determines how dark or light your image will be, AND how sensitive it is to light. As you bump up the ISO on your camera, you’re able to brighten your image.
BUT…. there’s a catch. In raising the ISO, you allow noise to enter the photo
LOWER ISO (100) = less sensitive to light
HIGHER ISO (2500+) = highly sensitive to light (and noisy)
Summary: Strive to have…
the Highest Shutter Speed possible &
the widest aperture possible &
the lowest ISO possible
NOW! Here comes your part. Take your camera out and try these setting out yourself! Experiment in ALL kinds of light, and at times other than golden hour 😉
I hope this guide helps you take those phenomenal photos you DREAM of!!! Go
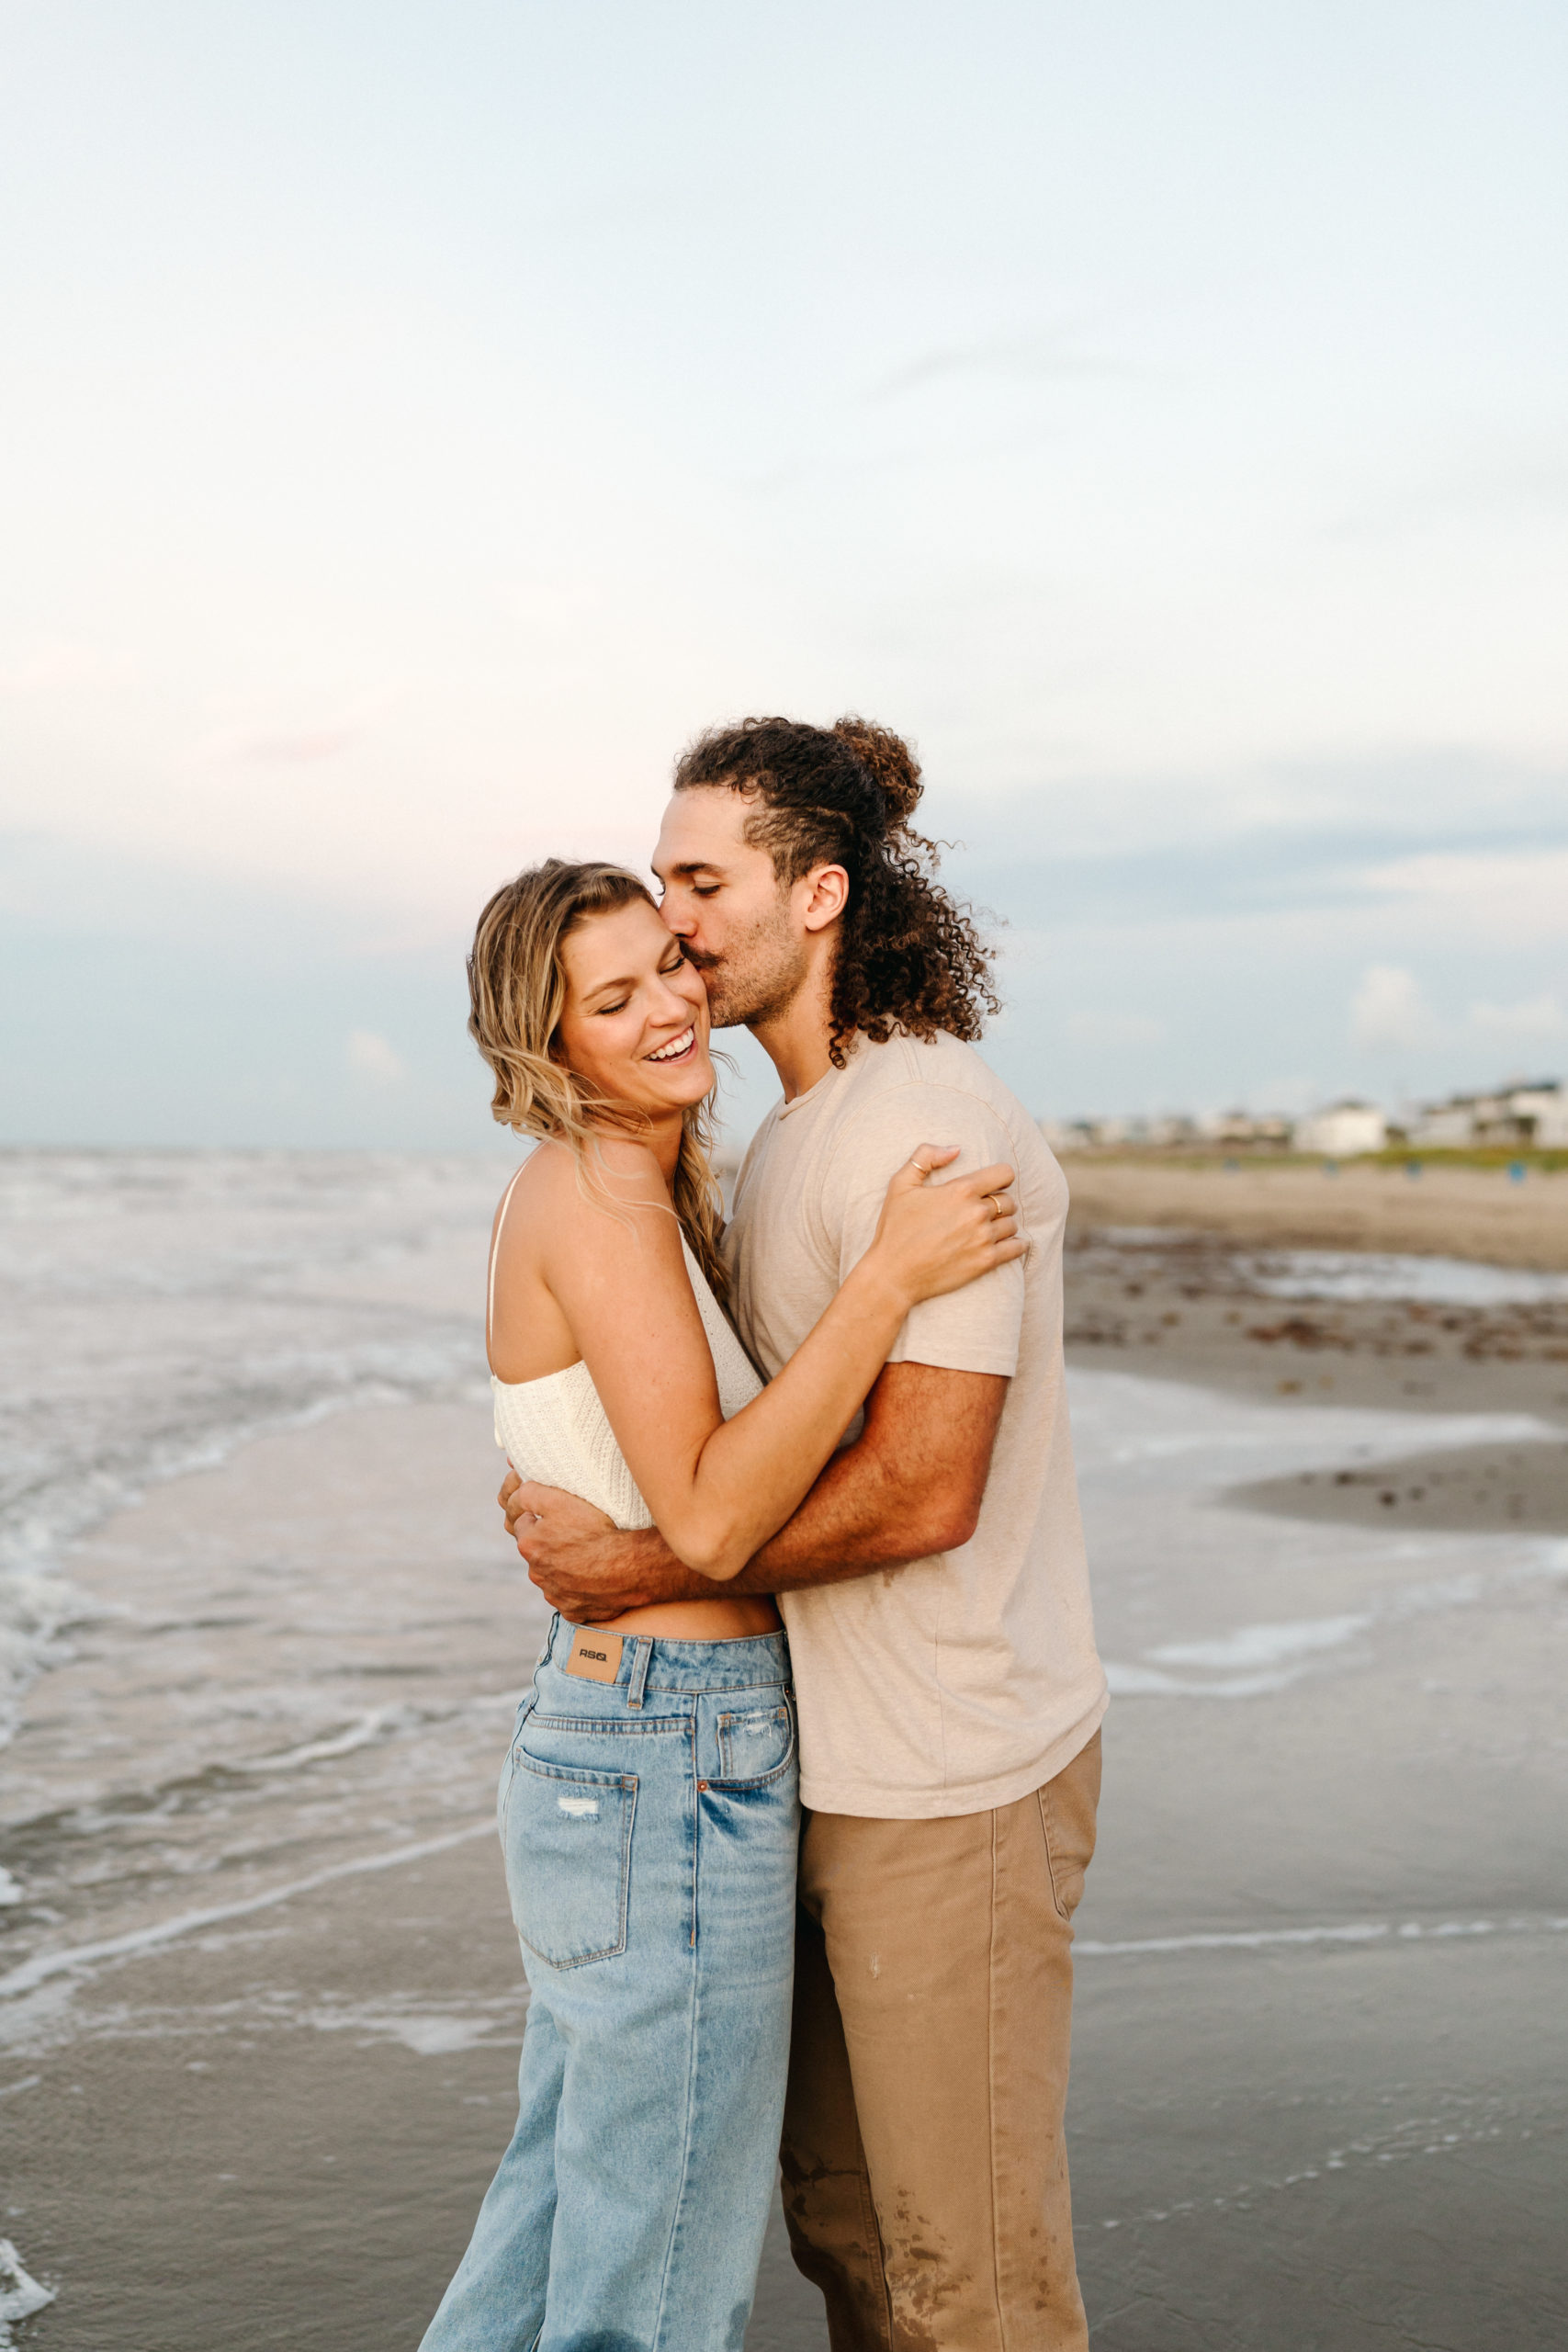
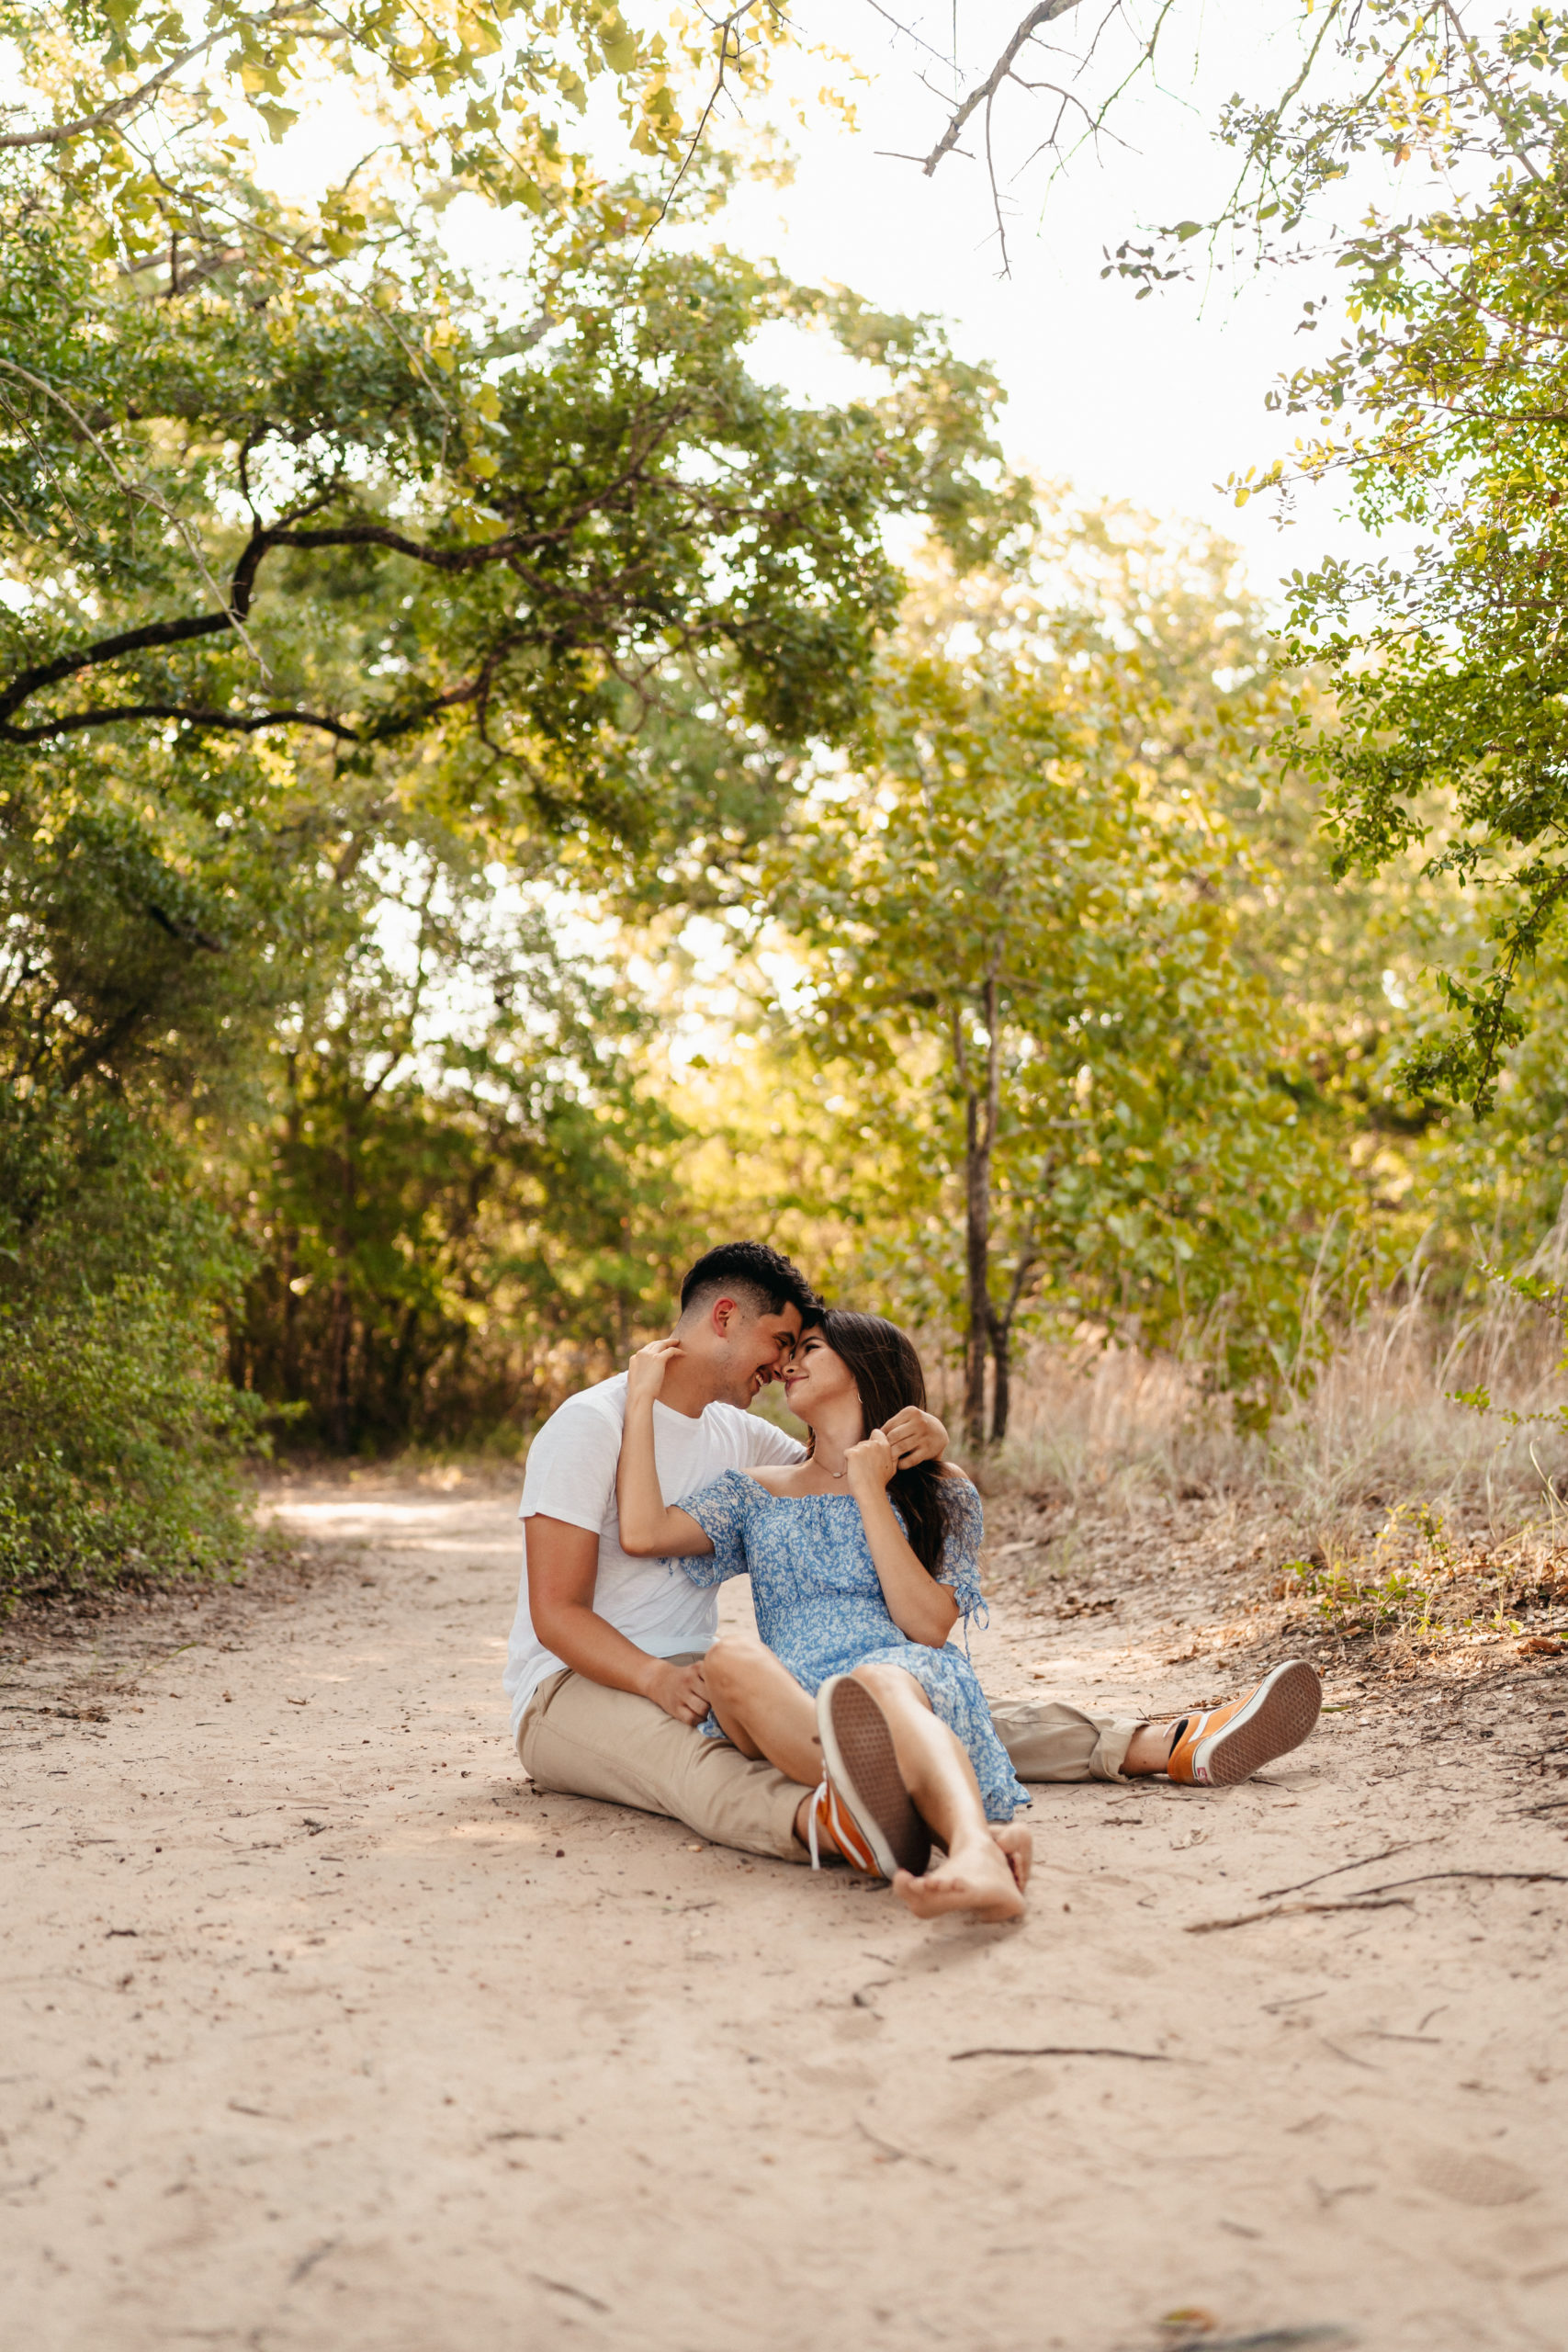
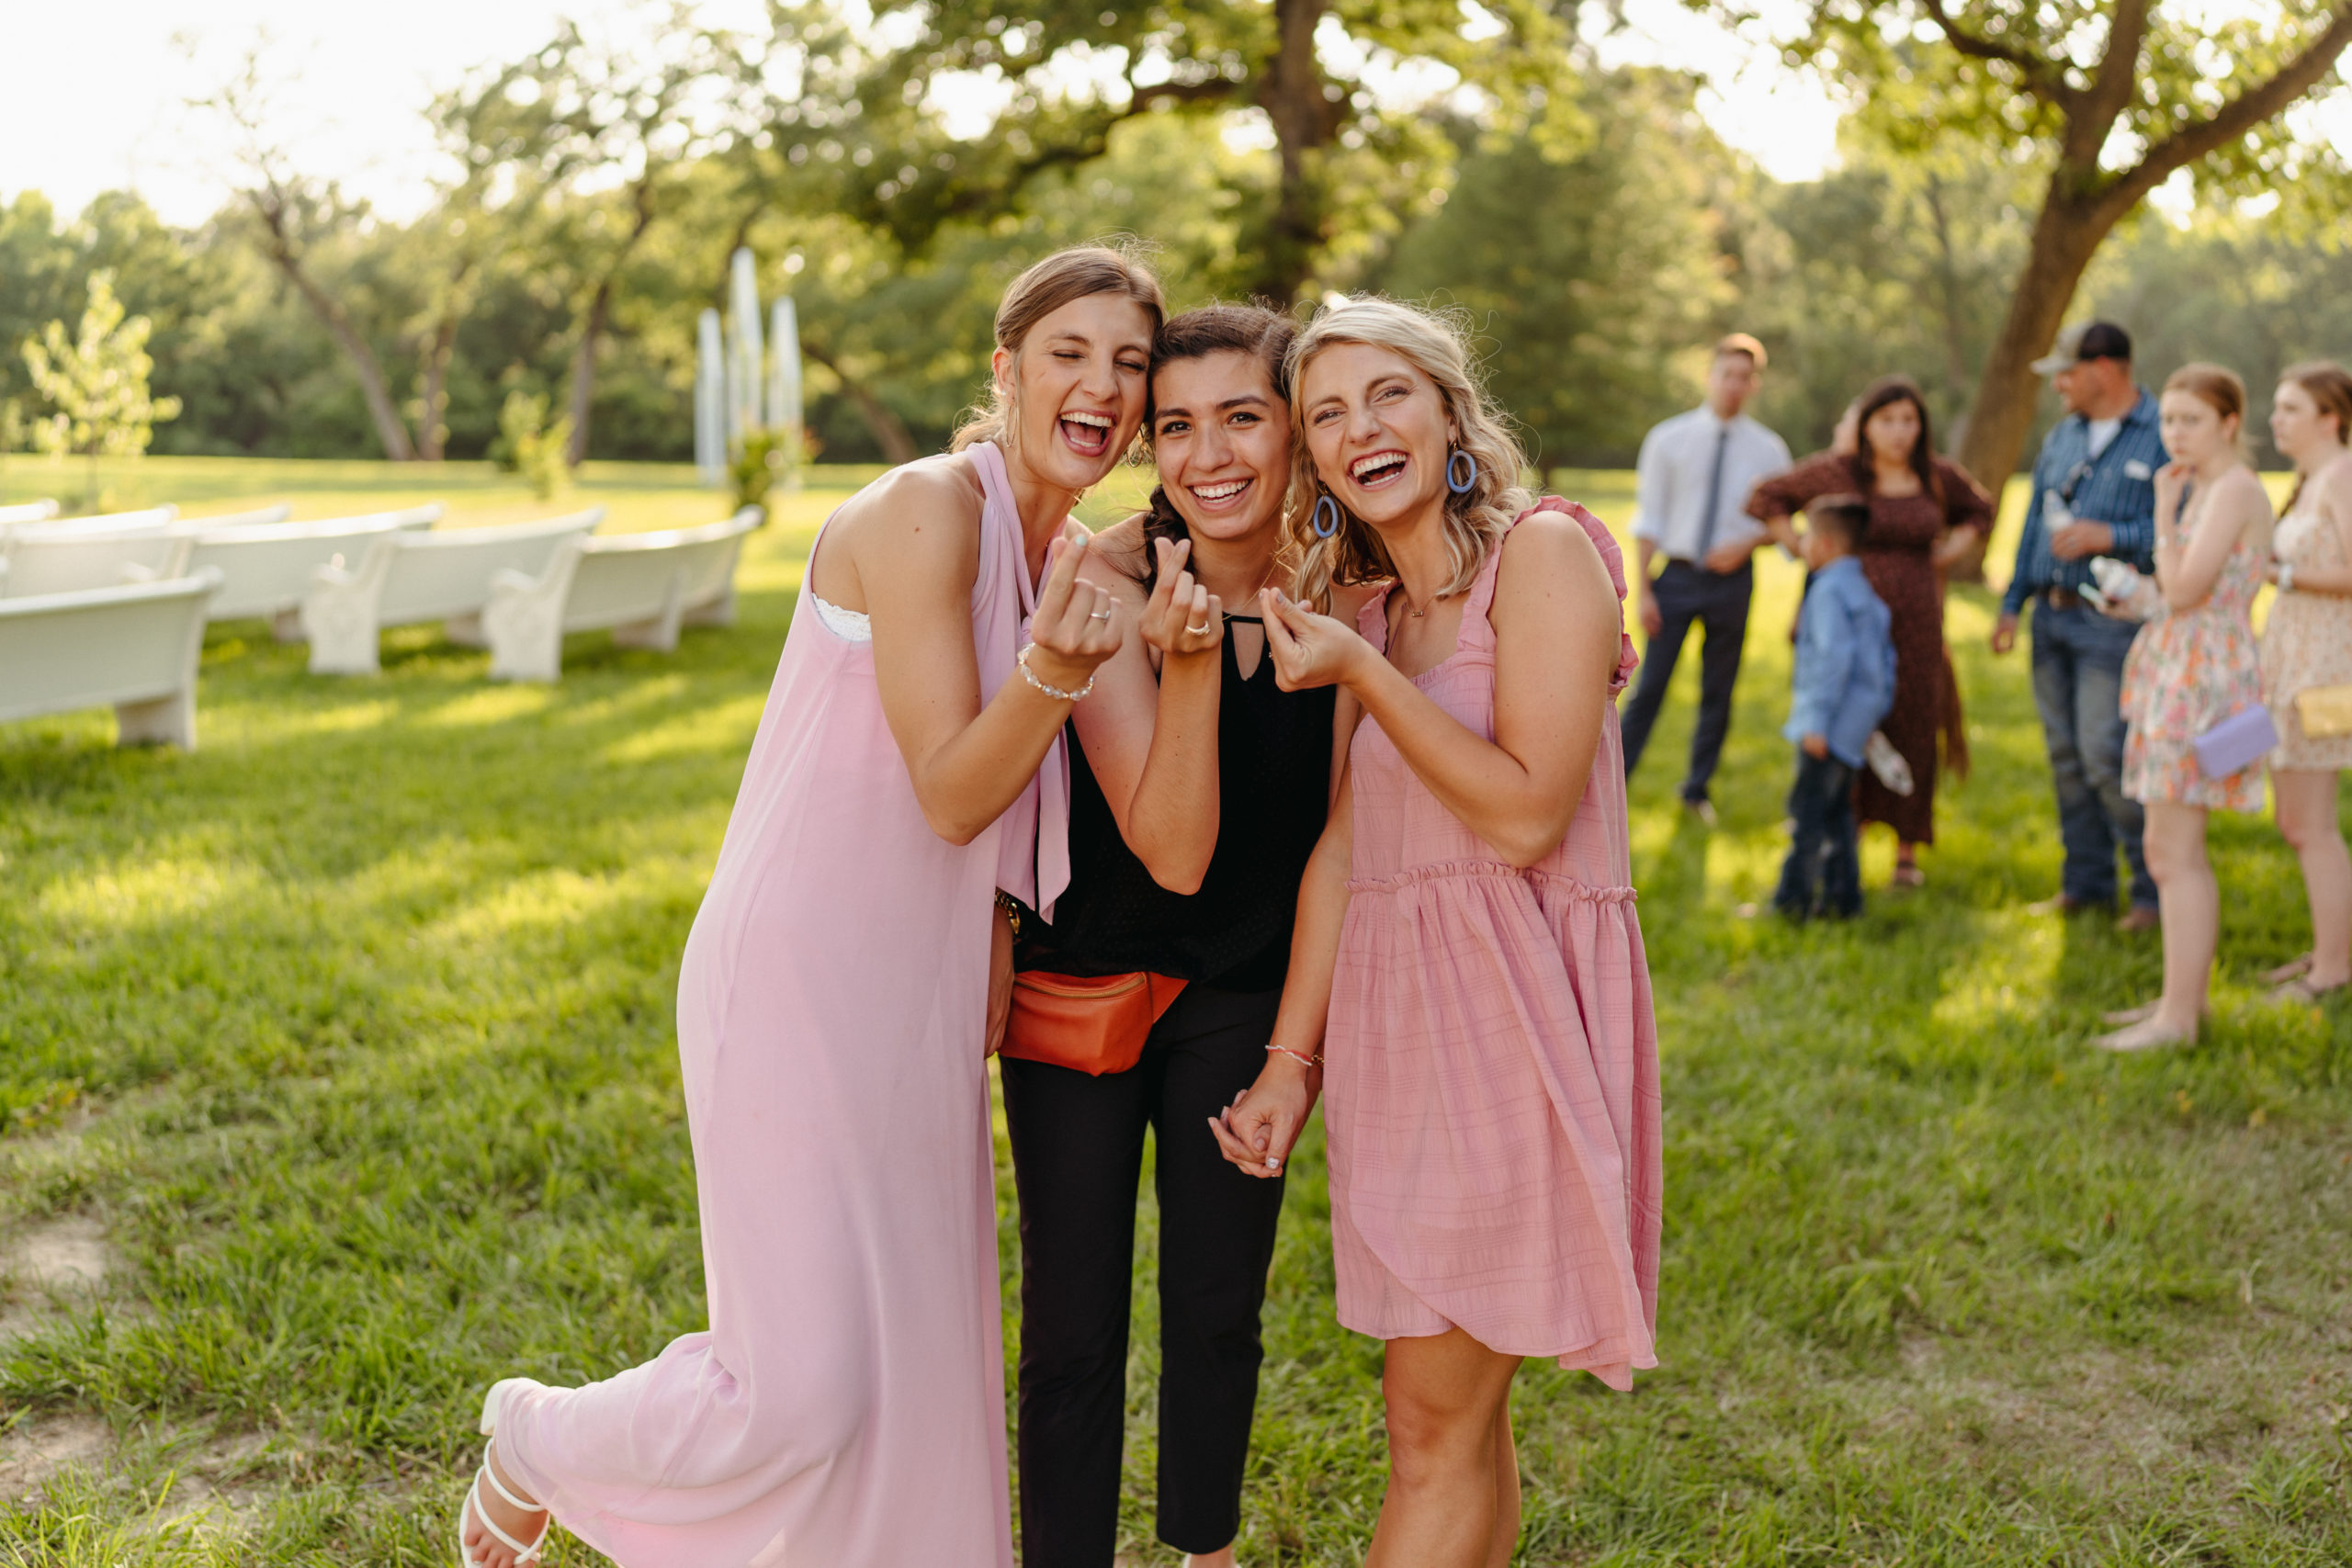
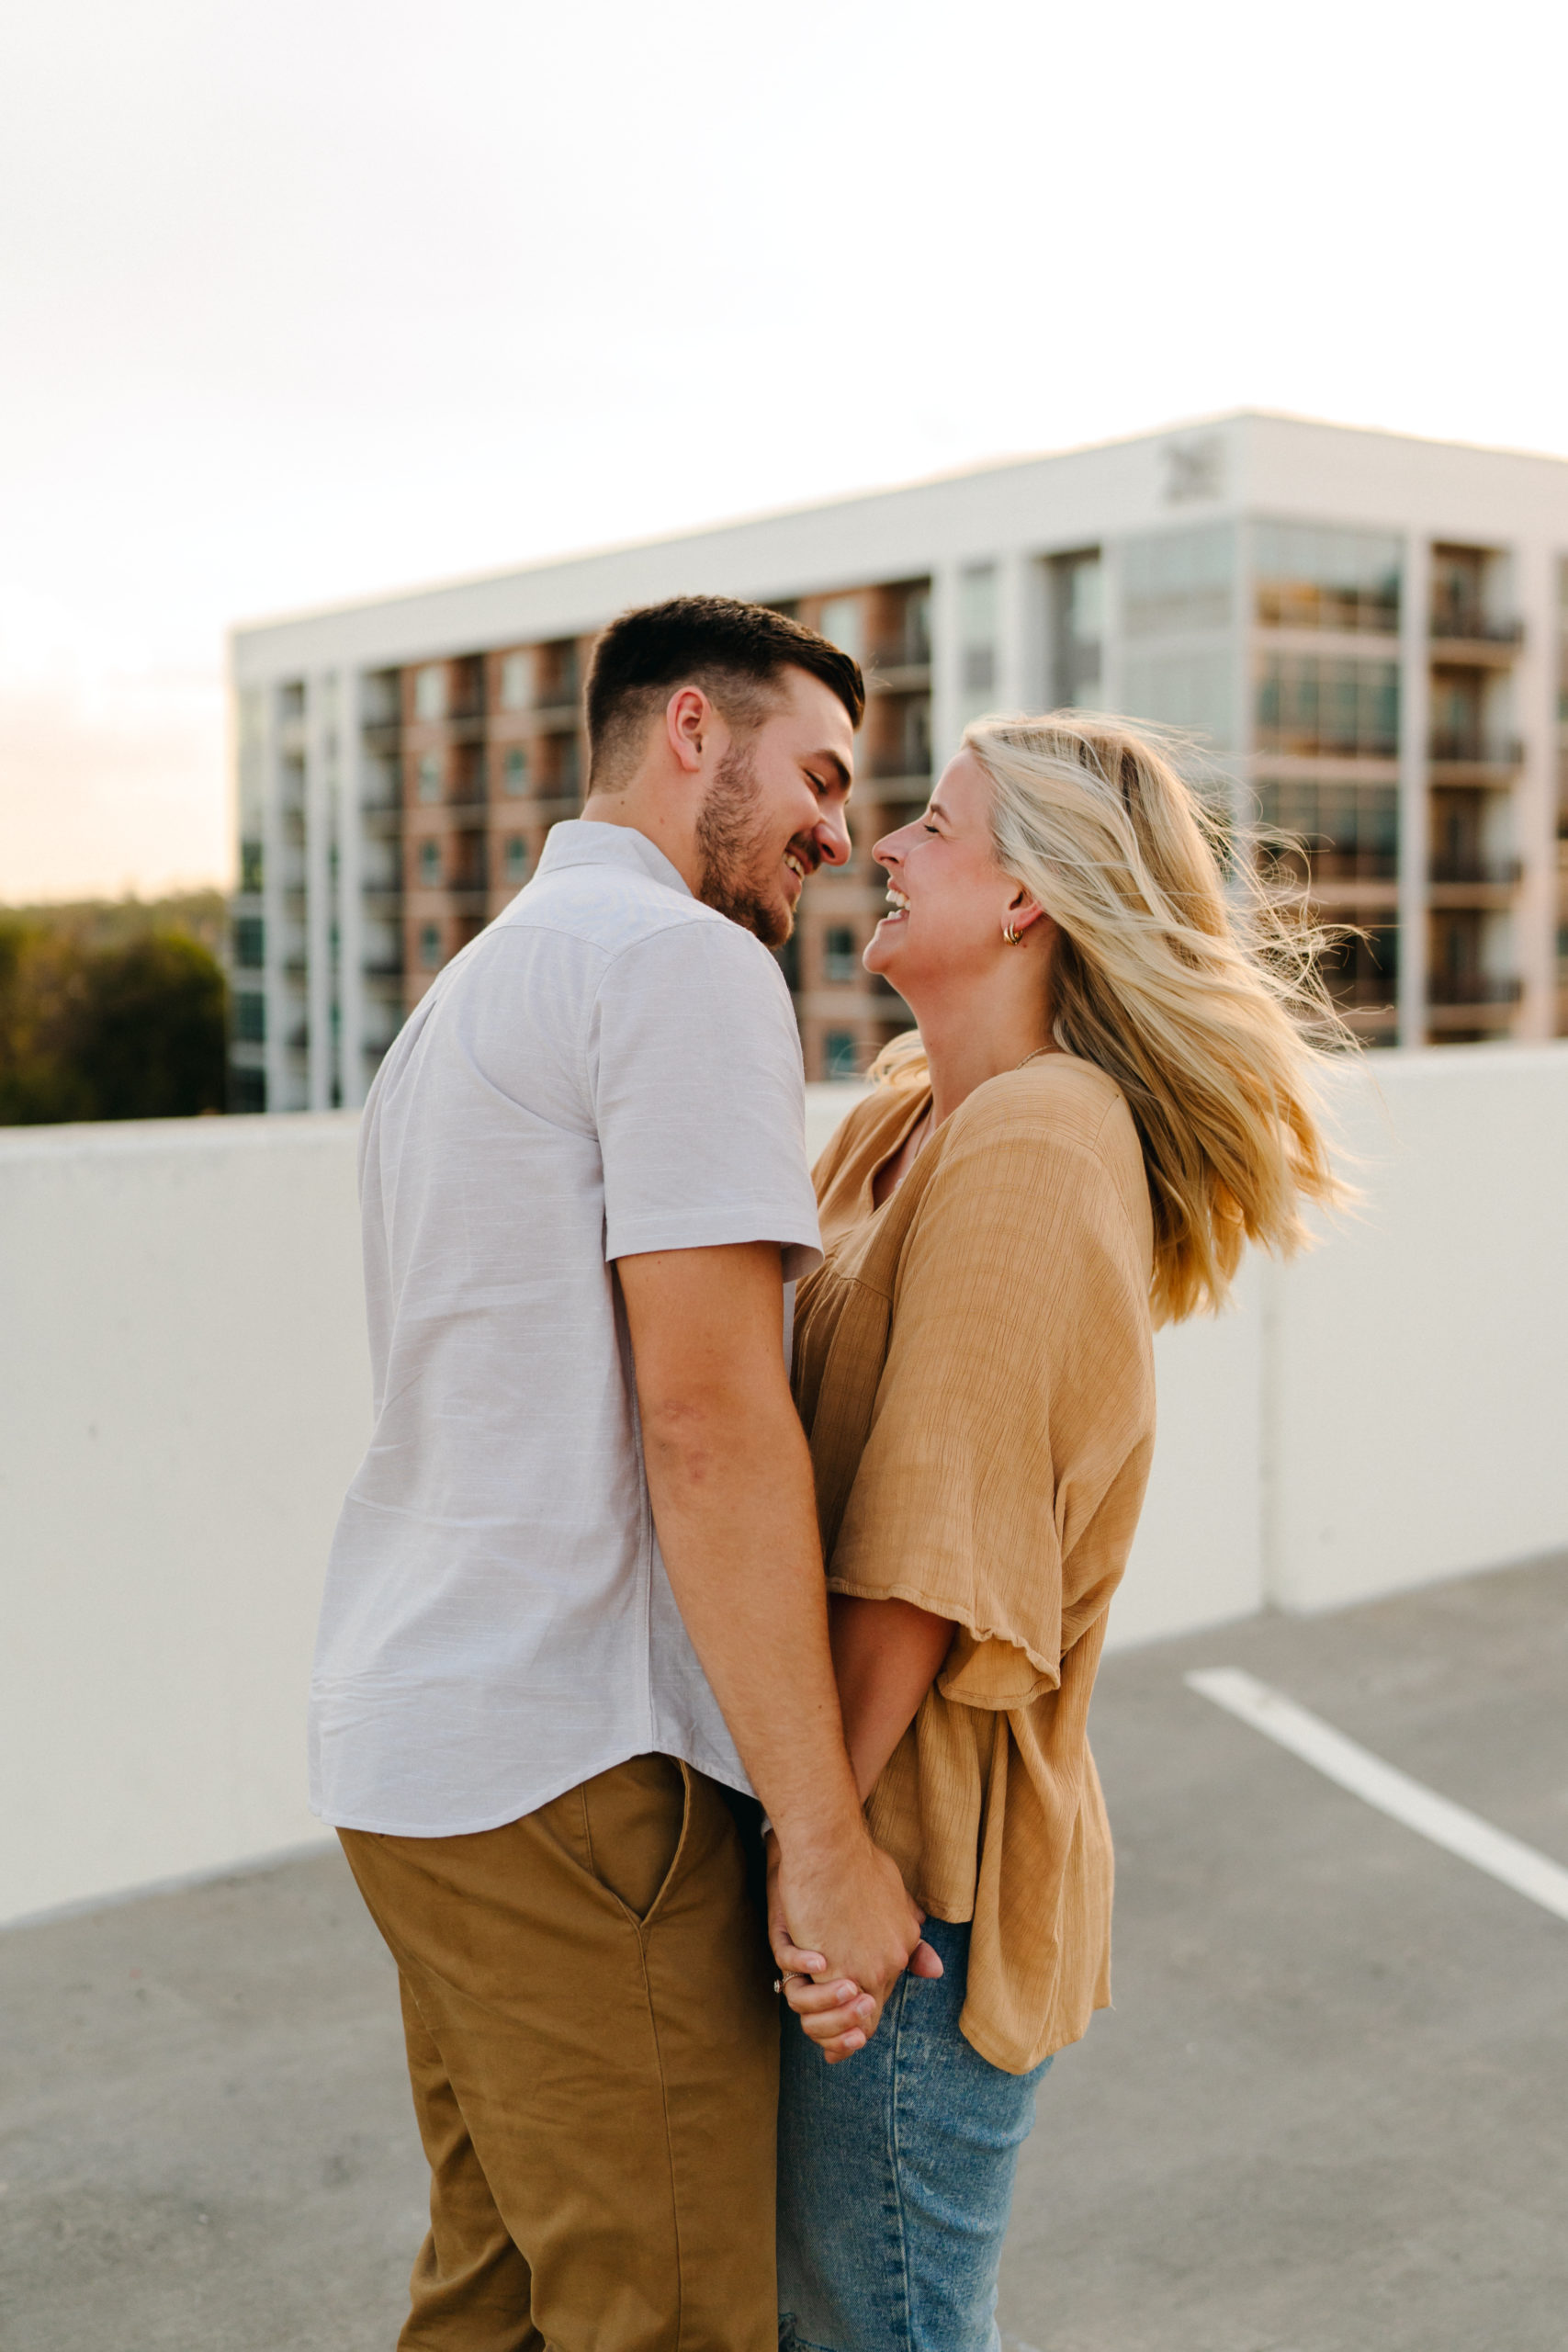
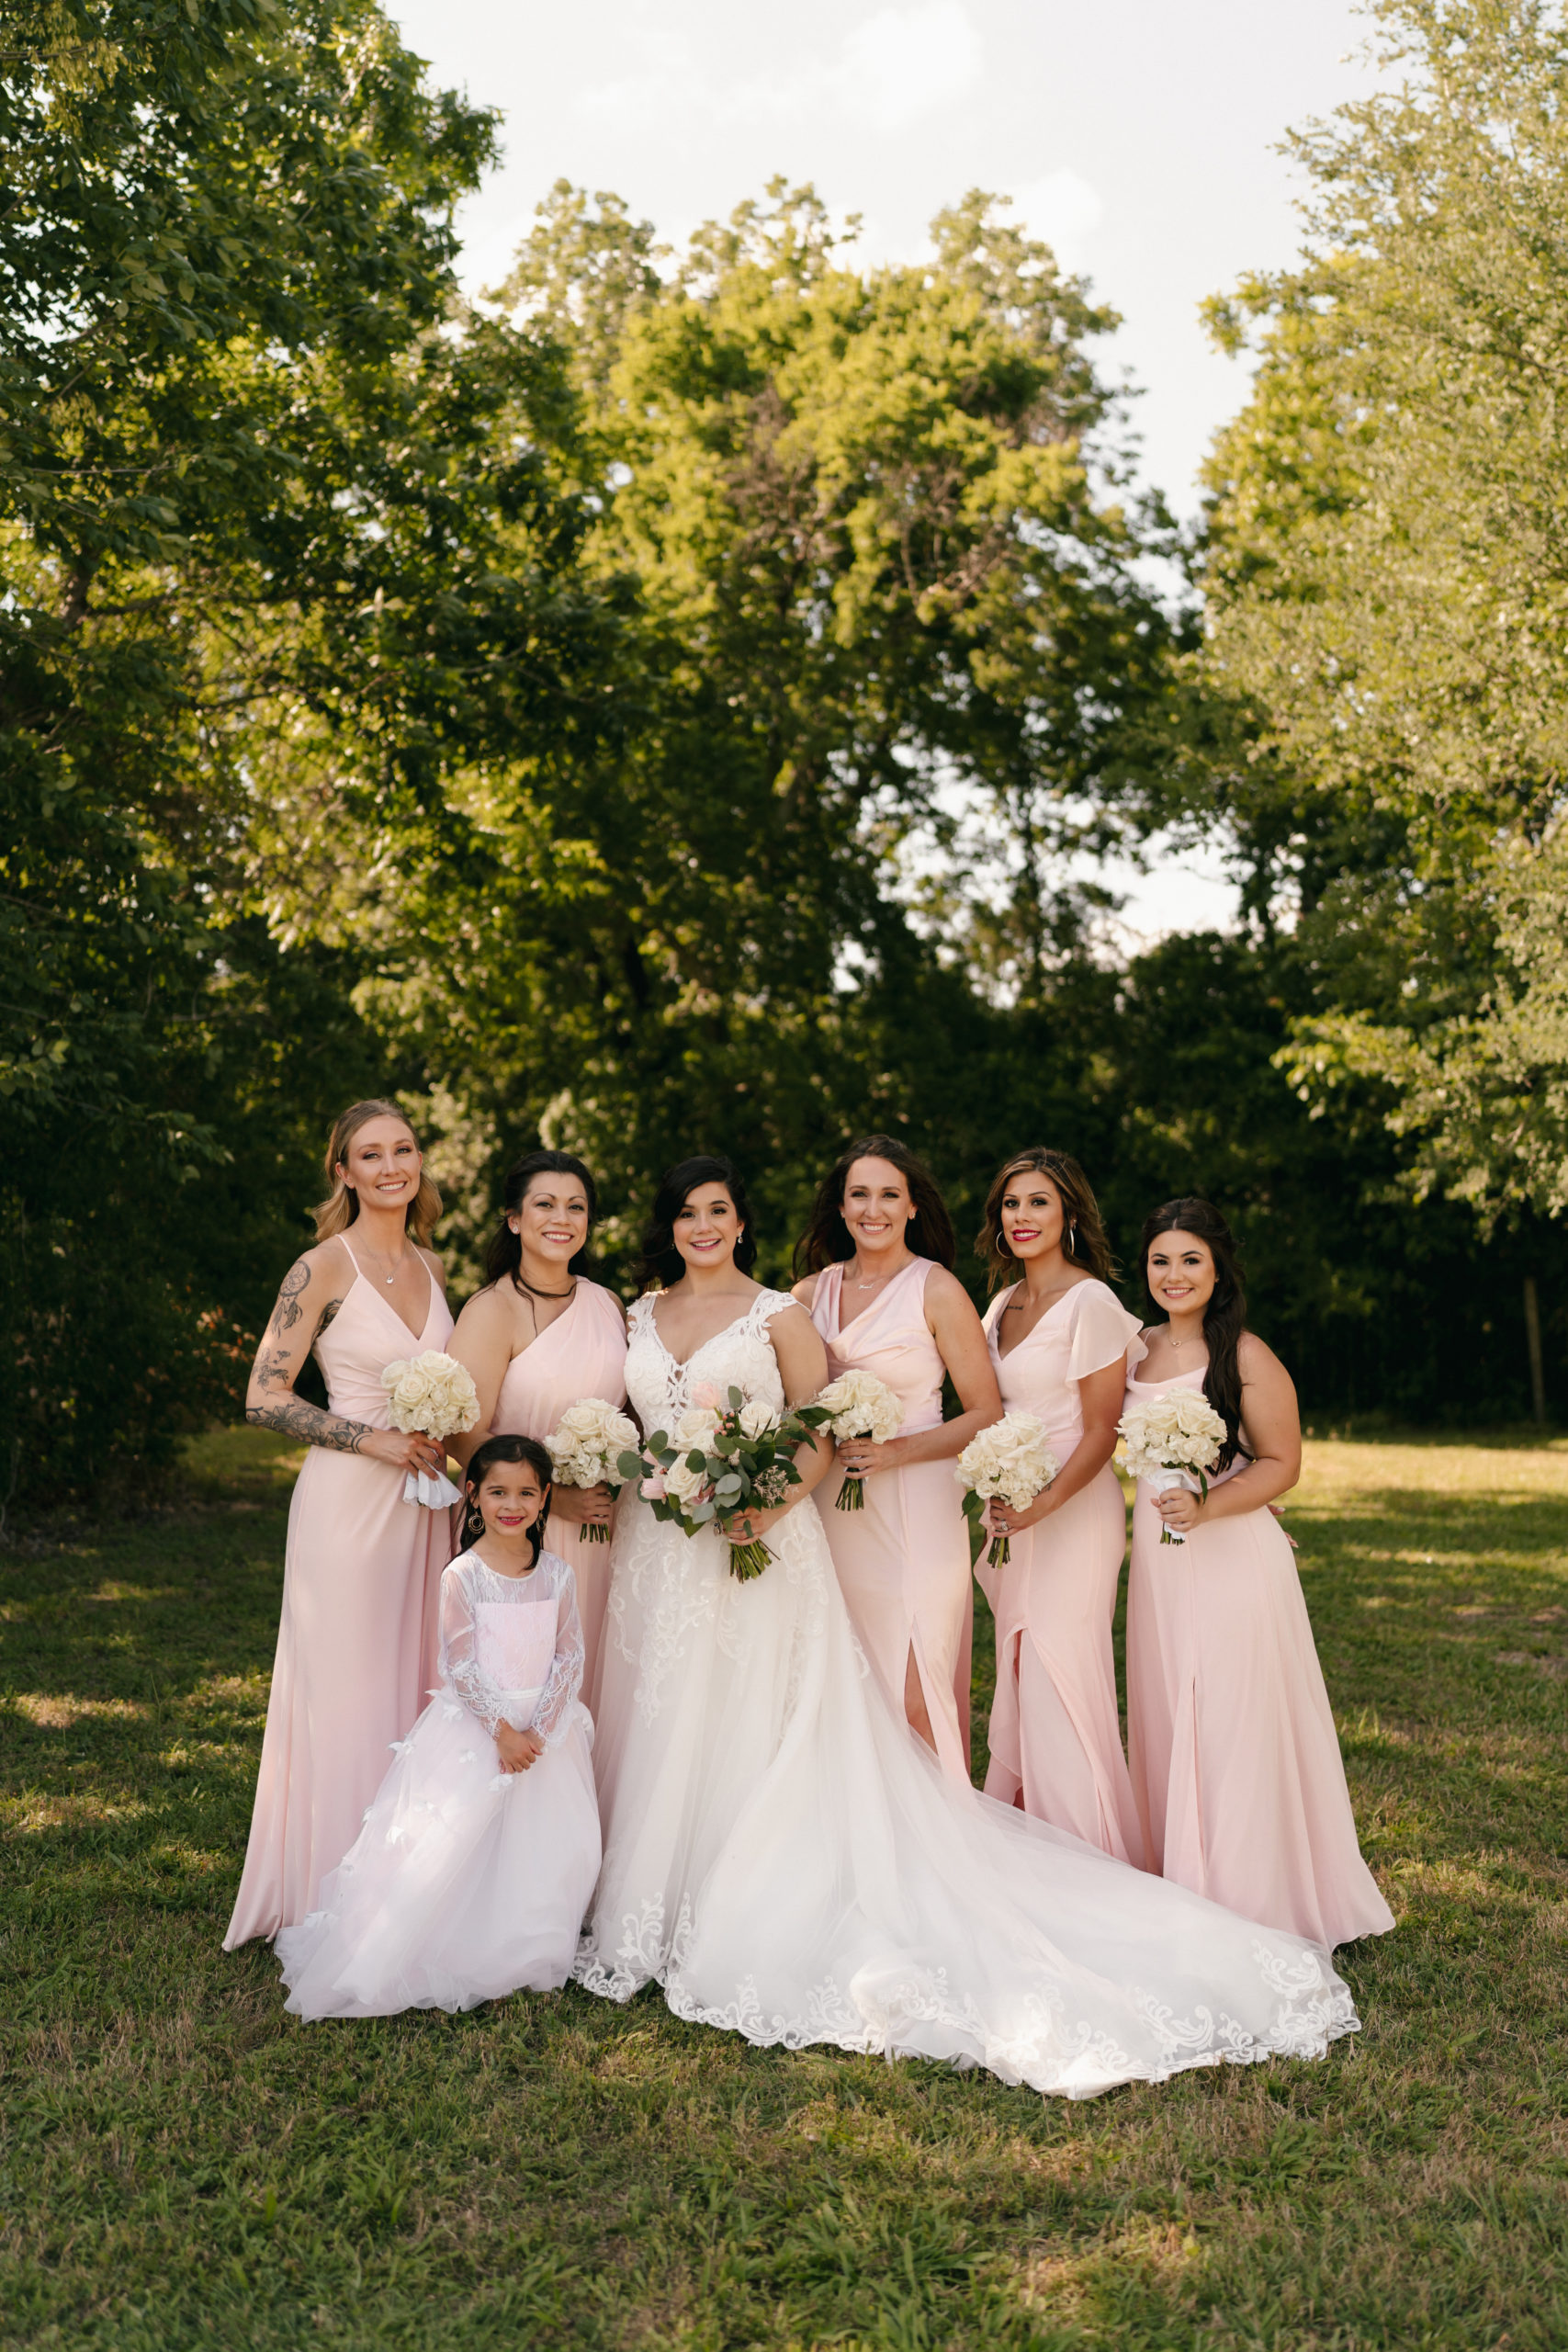
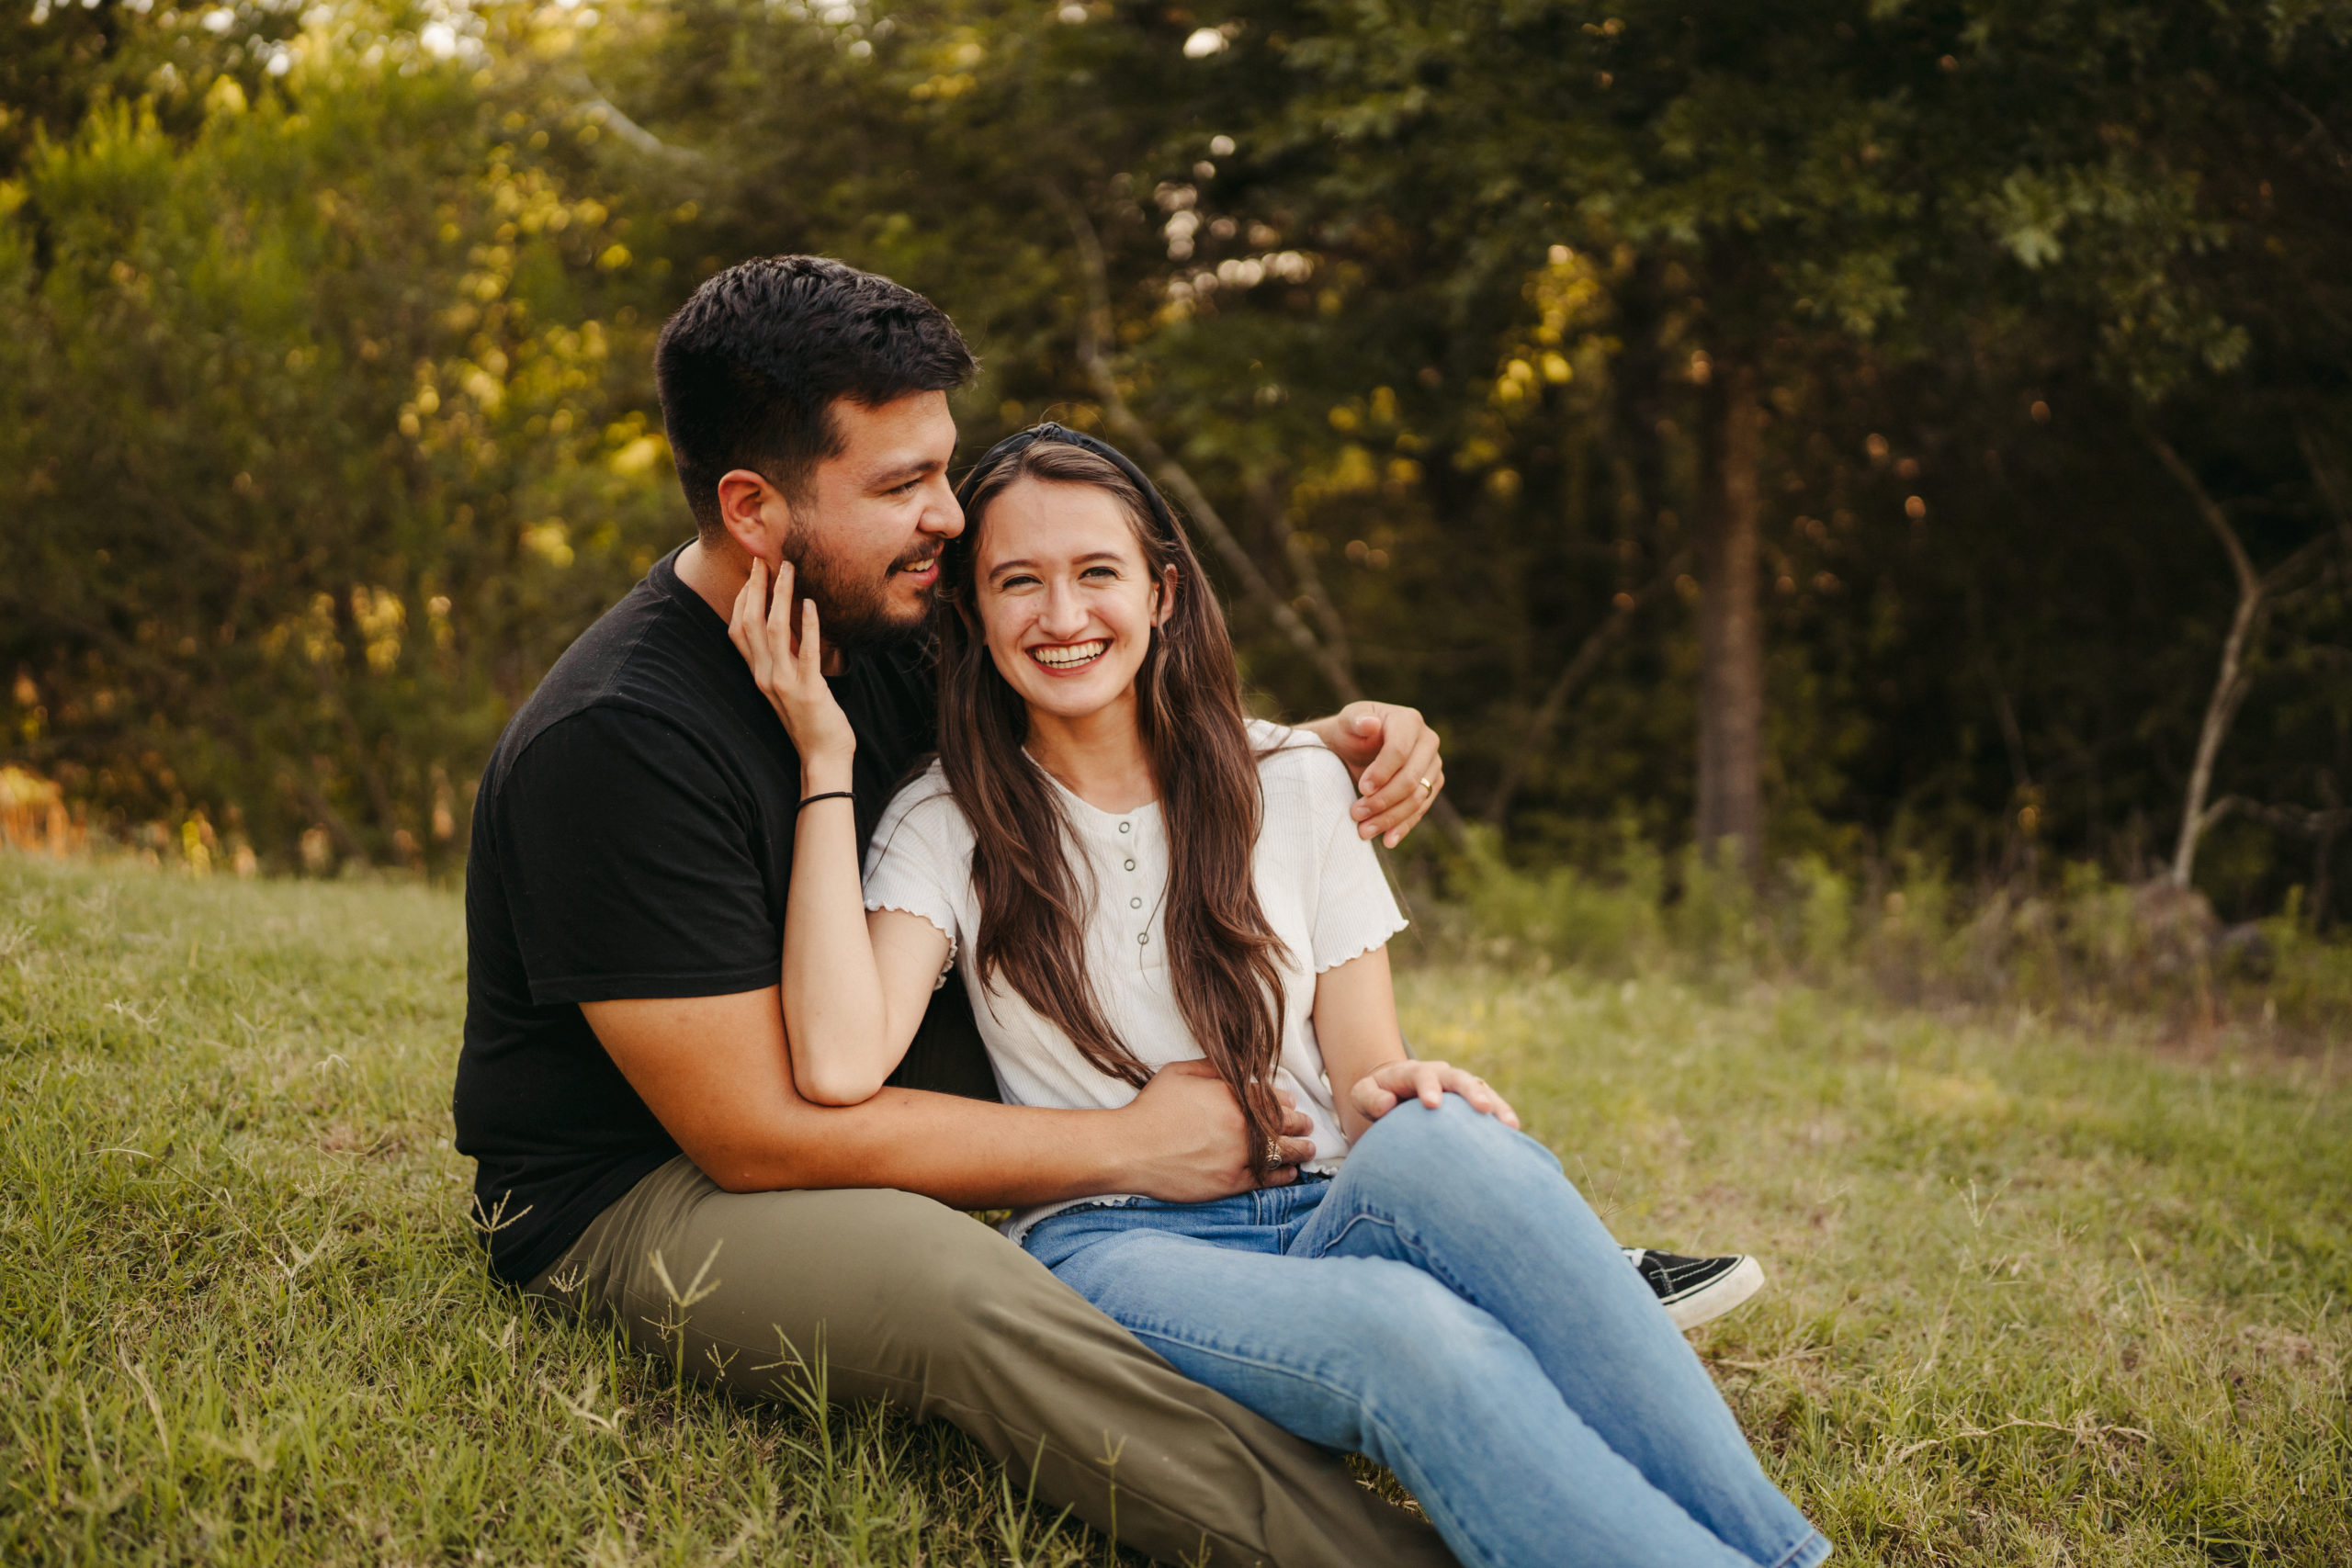
example images

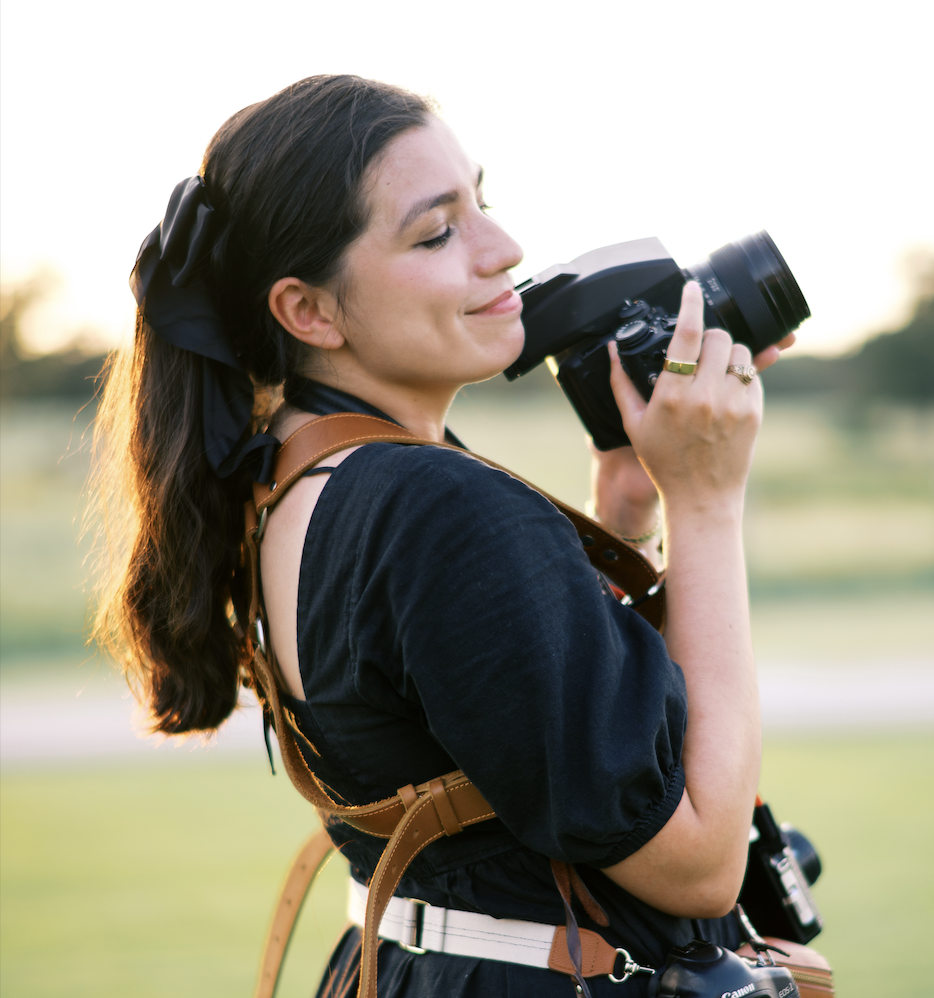
Angelina Loreta is a wedding photographer in Austin TX specializing in timeless, documentary-style imagery captured on both film and digital. Known for her warm, intentional approach, she creates wedding galleries filled with atmosphere, connection, and honest emotion—preserving your day with a blend of artistry, storytelling, and the nostalgic depth of true film photography.


")
